Replacing Damaged Gutter Guards
This is one of the more popular questions we hear out from our friends and neighbors on a weekly basis; how do we replace damaged gutter guards? Or do we even replace them ourselves? These questions may seem to have simple answers, but we assure you there are a lot of elements that come into play when considering the replacement of our gutter guards.
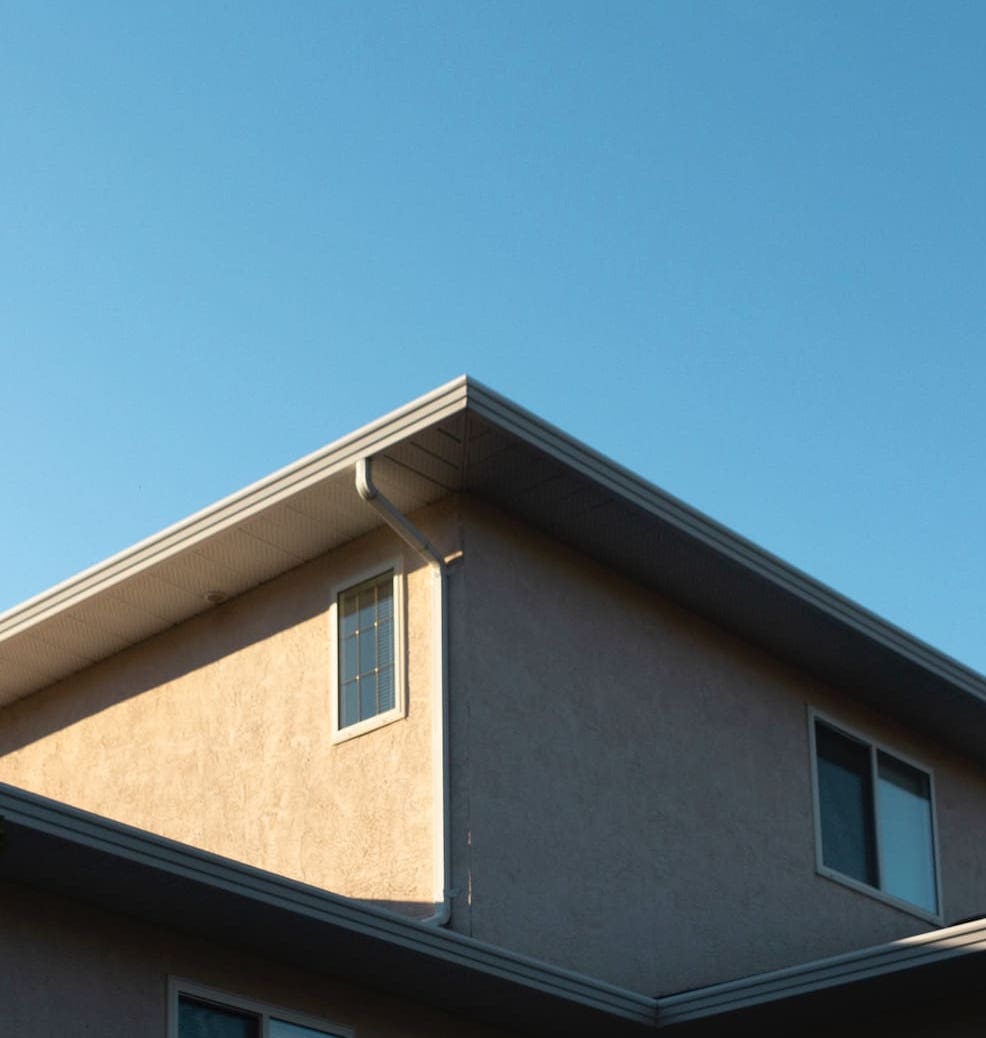
First and foremost, you have to examine and be sure whether or not your gutter guards are in good condition. Chances are they are old and require replacement as gutters are one of the most neglected sections of our roofs. However, the extension of damage may vary from section to section, and they all require a different replacement method to prove efficient. Secondly, you need the right tools for the right job. This means that you should prepare your tools and purchase new ones if you are missing specific ones. Lastly, you need to make sure your safety measures are taken to the fullest, as removing and installing gutter guards can be dangerous, just like any job involving climbing on the roof or using ladders.
Determining the Damage to Your Gutter Guards
As stated above, before starting the process, we must check the individual sections of our gutter guards and determine their condition. There are many conditions that affect gutter guards. While newer and higher quality rain gutter guards rarely acquire damages to them as they are made to last for a very long lifetime, older gutter guards manufactured from less durable materials often tend to get damaged. You are probably reading this blog as you have an older variety, so chances are that you already have one or several types of damages already instilled upon your gutter guards. Here is a list of some of the damage conditions that you can find in your gutter guards below.
Common Gutter Guard Problems
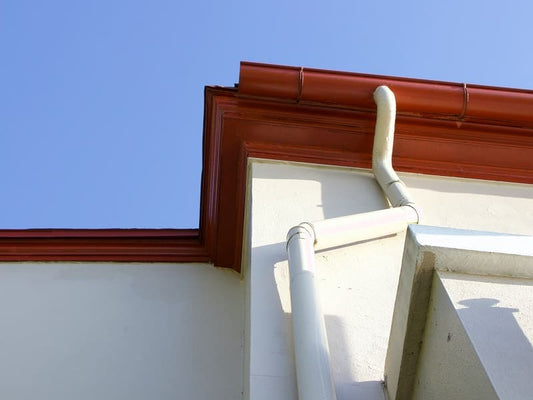
- Holes; this is one of the most common problems that we can encounter when examining gutter guards. Over time our gutter guards tend to get holes which causes leaks and prevent the water from flowing through its desired pathway,
- Cracks; can occur in our gutter guards, especially during harsh weather conditions. Icing, heavy rain downpour, hailstorms, broken twigs falling on your roof, and extreme weather shifts are the main culprits in this case,
- Rust; if your gutter guards are not made from industry-grade stainless steel, aluminum, or copper, then you have a high chance to observe rust fermentation on your gutter guards. The main root of rusting problems begins at the intersections of your gutter guards, as those areas are the ones where moisture and debris tend to get stuck to help form rust over time. If left unchecked, rust can collapse your entire gutter protection system,
- Warps; just like cracks, warps occur mainly during heavy weather conditions. The most probable cause for them is extreme heat during summer. While a small amount of warping may be expected in certain regions, it is best to check if the situation has come to a point where the water flow is affected. You can even test this yourself by using a water hose and observing how to water current is directed throughout your gutter system in case your eyes can’t tell whether or not the situation is salvageable.

Tools Required to Replace Gutter Guards
After you have determined the root cause of the problem in your gutter guards, you will need to acquire the necessary tools for the replacement process. You will most likely have the majority of these tools as they are standard household tools. We will add small tips next to each one of them to get the job done right in the safest manner possible!
- Ladder; We highly recommend using a tall ladder with rubber soles for increased stability. If you are not experienced with ladders, it is best to be accompanied by a friend or family member,
- Gloves; you will definitely need gloves, especially if your gutter guards are made from a metal material, as you can cut and infect yourself during the process. Rusty gutter guards are especially a problem if you don’t have sturdy work gloves. They are also a good addition for cleaning unwanted debris clogged in your gutter system,
- Scoop; same as gloves, you can use a scoop to clean up the debris, pests (as long as they are the small and harmless variants), and other organic material that may have gotten stuck up in your gutter guards,
- Cleaning bags; you will need these bags to pack the debris and perhaps even throw the broken and damaged gutter guard pieces into,
- Drop cloths; same as cleaning bags, you will require these for cleaning the debris within your gutter system,
- Safety goggles; this is a bonus, but it never hurts to bring extra protection for your eyes, especially if you are using an electric drill,
- Screwdriver or electric drill; you will need one of these or both to unscrew your gutter guards in a neat manner,
- Garden hose; prefer a version with a spray nozzle to clean specific areas with extra pressure. This is good for cleaning your gutter guards before replacing them and removing debris, pests, and animals.

Safety Guide for Replacing Gutter Guards
Now that you are ready with your tools, it's time for gutter replacement safety tips. It is prudent that you ensure that your safety is your number one priority. We best suggest that you have one or two friends or family members accompanying you during this process. It never hurts to get an extra pair of hands for a heavy job like this!
- Make sure that you have a firm ground for placing your high ladder. Otherwise, unwanted accidents can occur, and this is the last thing we want to happen,
- If you think that there are pests or animals in certain sections of your gutters, make sure to approach them with a long tool or broomstick. Needless to say, if you are living in a location where wild animals are common, it is best to let professionals handle the entire process! You can additionally check our blog post about animals in gutter guards for more information,
- If you have adverse weather conditions, it would be better to work when the weather is clear to avoid accidents. Let’s say you are residing in an area where icing and snow are principal elements throughout the year, then you should definitely thaw your roof and gutter guards before beginning the process.
Installation Instructions for Specific Gutter Guards
Depending on the style of your gutter guards installed, there will be different approaches to removing different sections of your gutter protection system. There are standard steps, though. You should always make sure that your gutter guards are cleaned regardless of the region that you are working with and ensure your safety beforehand. If those two are done, we can move on with how to replace our gutter guards.
First Step for All Gutter Guards
- Clean away the debris and clogging in your gutter guards,
- Locate and unscrew the screws or snapping mechanisms,
Foam Gutter Guards
- Brush off the debris off your foam sections,
- Gently lift the foam guards out of the gutters,
Brush Gutter Guards
- Take the bristles out of their space,
- Gently place them on the ground or your roof if you have a flat section,
Reverse Curve Gutter Guards
- Carefully remove the slide gutter guards out from the roofline or take them away from the fascia,
- Lower the gutter guard sections to the ground below,
Perforated Gutter Guards
- In addition to screws, you may need to pry apart individual sections,
- When lifting the upper layers, make sure to take your time and remove them one by one,
Metal Mush Gutter Guards
- Remove individual metal sections one by one as to not damage them due to their excessive weight,
- Take extra care when lowering them to the ground below,
Final Step for All Gutter Guards
- Make sure to scoop out the remaining debris in your gutters,
- You can spread out your drop cloths to ease your cleaning regimen,
- Wash your gutter system with your garden hose,
- Replace your new gutter guards by reversing the steps above. You can get assistance from our guide for installing your new gutter guards.

Should You DIY or Hire a Professional for Replacing Gutter Guards?
As seen above, replacing gutter guards can be done by yourself in a DIY fashion. However, the real question; is it worth it? Gutter guard installation can be time-consuming and even dangerous if you are not experienced with roof maintenance. On top of that, the best gutter guard systems are often the ones that are installed by professionals. The average gutter replacement cost will vary from region to region, but we assure you that it is the best way to renew your gutter guard system for a maintenance-free long-term solution!
At Art of Gutter, we strive to provide you with the best quality gutter materials for your family home or venue. Our high-tech and innovative gutter guards are durable, efficient, and reliable. Whether you are looking for debris proof 5” Waterlock gutter guards or luxurious and long-lasting Waterlock Pro copper gutter guards, we have you covered. You can check out our online store for 5-inch and 6-inch gutter guards that fit into existing and new roofs for any structure. We additionally produce custom size gutter guards according to your needs. Feel free to contact us anytime through our website for more information regarding the best gutter guards in the US!
This is the end of our blog post for “Replacing Damaged Gutter Guards”! If you are interested in learning more information regarding gutters, gutter cleaning, and gutter protection products, you can check our other blogs such as “5 Gutter Solutions to Fix Common Problems”, “Best Gutter Guard Materials for Your Home”, & “Why You Should Invest in Copper Gutter Guards for Your Home”.
We’re sure you’ll find more information in regards to gutters and home care with our future blog posts as well. Until next time, be safe and in good vibes!
Tags:
Previous
Should You DIY or Hire a Professional for Gutter Installation?
Next
Decorate Your Gutters with Lights
Related articles
Are Leaf Guards Worth It | Art of Gutter
Dec 04 2023


Ice Dams and Gutter Guards- Learn the Truth
Nov 14 2023

What Size Gutters Do I A Comprehensive Guide
Nov 02 2023